The Making of a Quill and Ink
Good afternoon! Today I found an old turkey feather (don’t ask why) in the back of my desk. I had the random motivation to stop my search for the paper I needed to do real and productive things, and make a quill pen. Then of course I needed ink. And so... here’s how to do it yourself!
1. Remove the flaky stuff and the fluffy stuff
Before you cut the feather, you should consider how much “feather” you want to keep on the feather. I prefer the pretty aesthetic of an intact feather, but it’s up to you!Use your finger nail to peel off the membrane around the feather.
2. Cut the tip off
Use scissors to cut off the tip of the feather.
3. Take out the flaky stuff that’s inside
There’s a waxy sort of thing (it does have a proper name) inside the feather. I used a bobby pin because why not.
4. Cut diagonally
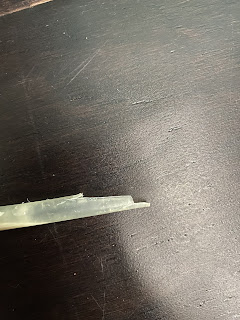
Use scissors to cut of the side of the feather at a diagonal angle.
5. Cut a small shelf-like thing and clean up the edges
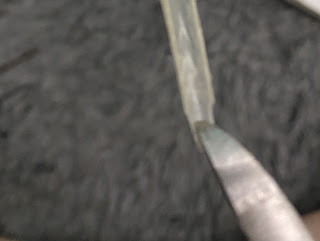
I used these small wire cutter things that I wish I had found earlier to do this part.
6. Cut a small slit in the top
Use the wire clippers to cut a slit in the top part. This lets the ink flow.
*Making the ink:*
7. Find some burned up wood
Find a lot of it.
8. Grind it up
Put it in a bowl that you don’t mind ruining. Sprinkle a tad of water on it, then grind it down into a paste. A mortar and pestle would come in handy...
Find another bowl you can ruin, and a large square of fabric (this will also be ruined). Put the paste in the center of the square of fabric. Place the fabric over the bowl and pour some water on it. Squeeze the fabric to get all the charcoal bits in the water so that it becomes a dark black ink.


Wow!
ReplyDelete