How I made my 16th Century Kirtle
Dear venturers,
This post is long overdue, but still fitting since I seem to be on a medieval kick recently.
So let’s get right to it!
 |
| I hope to post a hair and cap tutorial at some point |
Here’s my inspiration…


I started by making a pattern mock up using the basic shapes from my 18th century bodice pattern. The bodice is only 3 panels total.
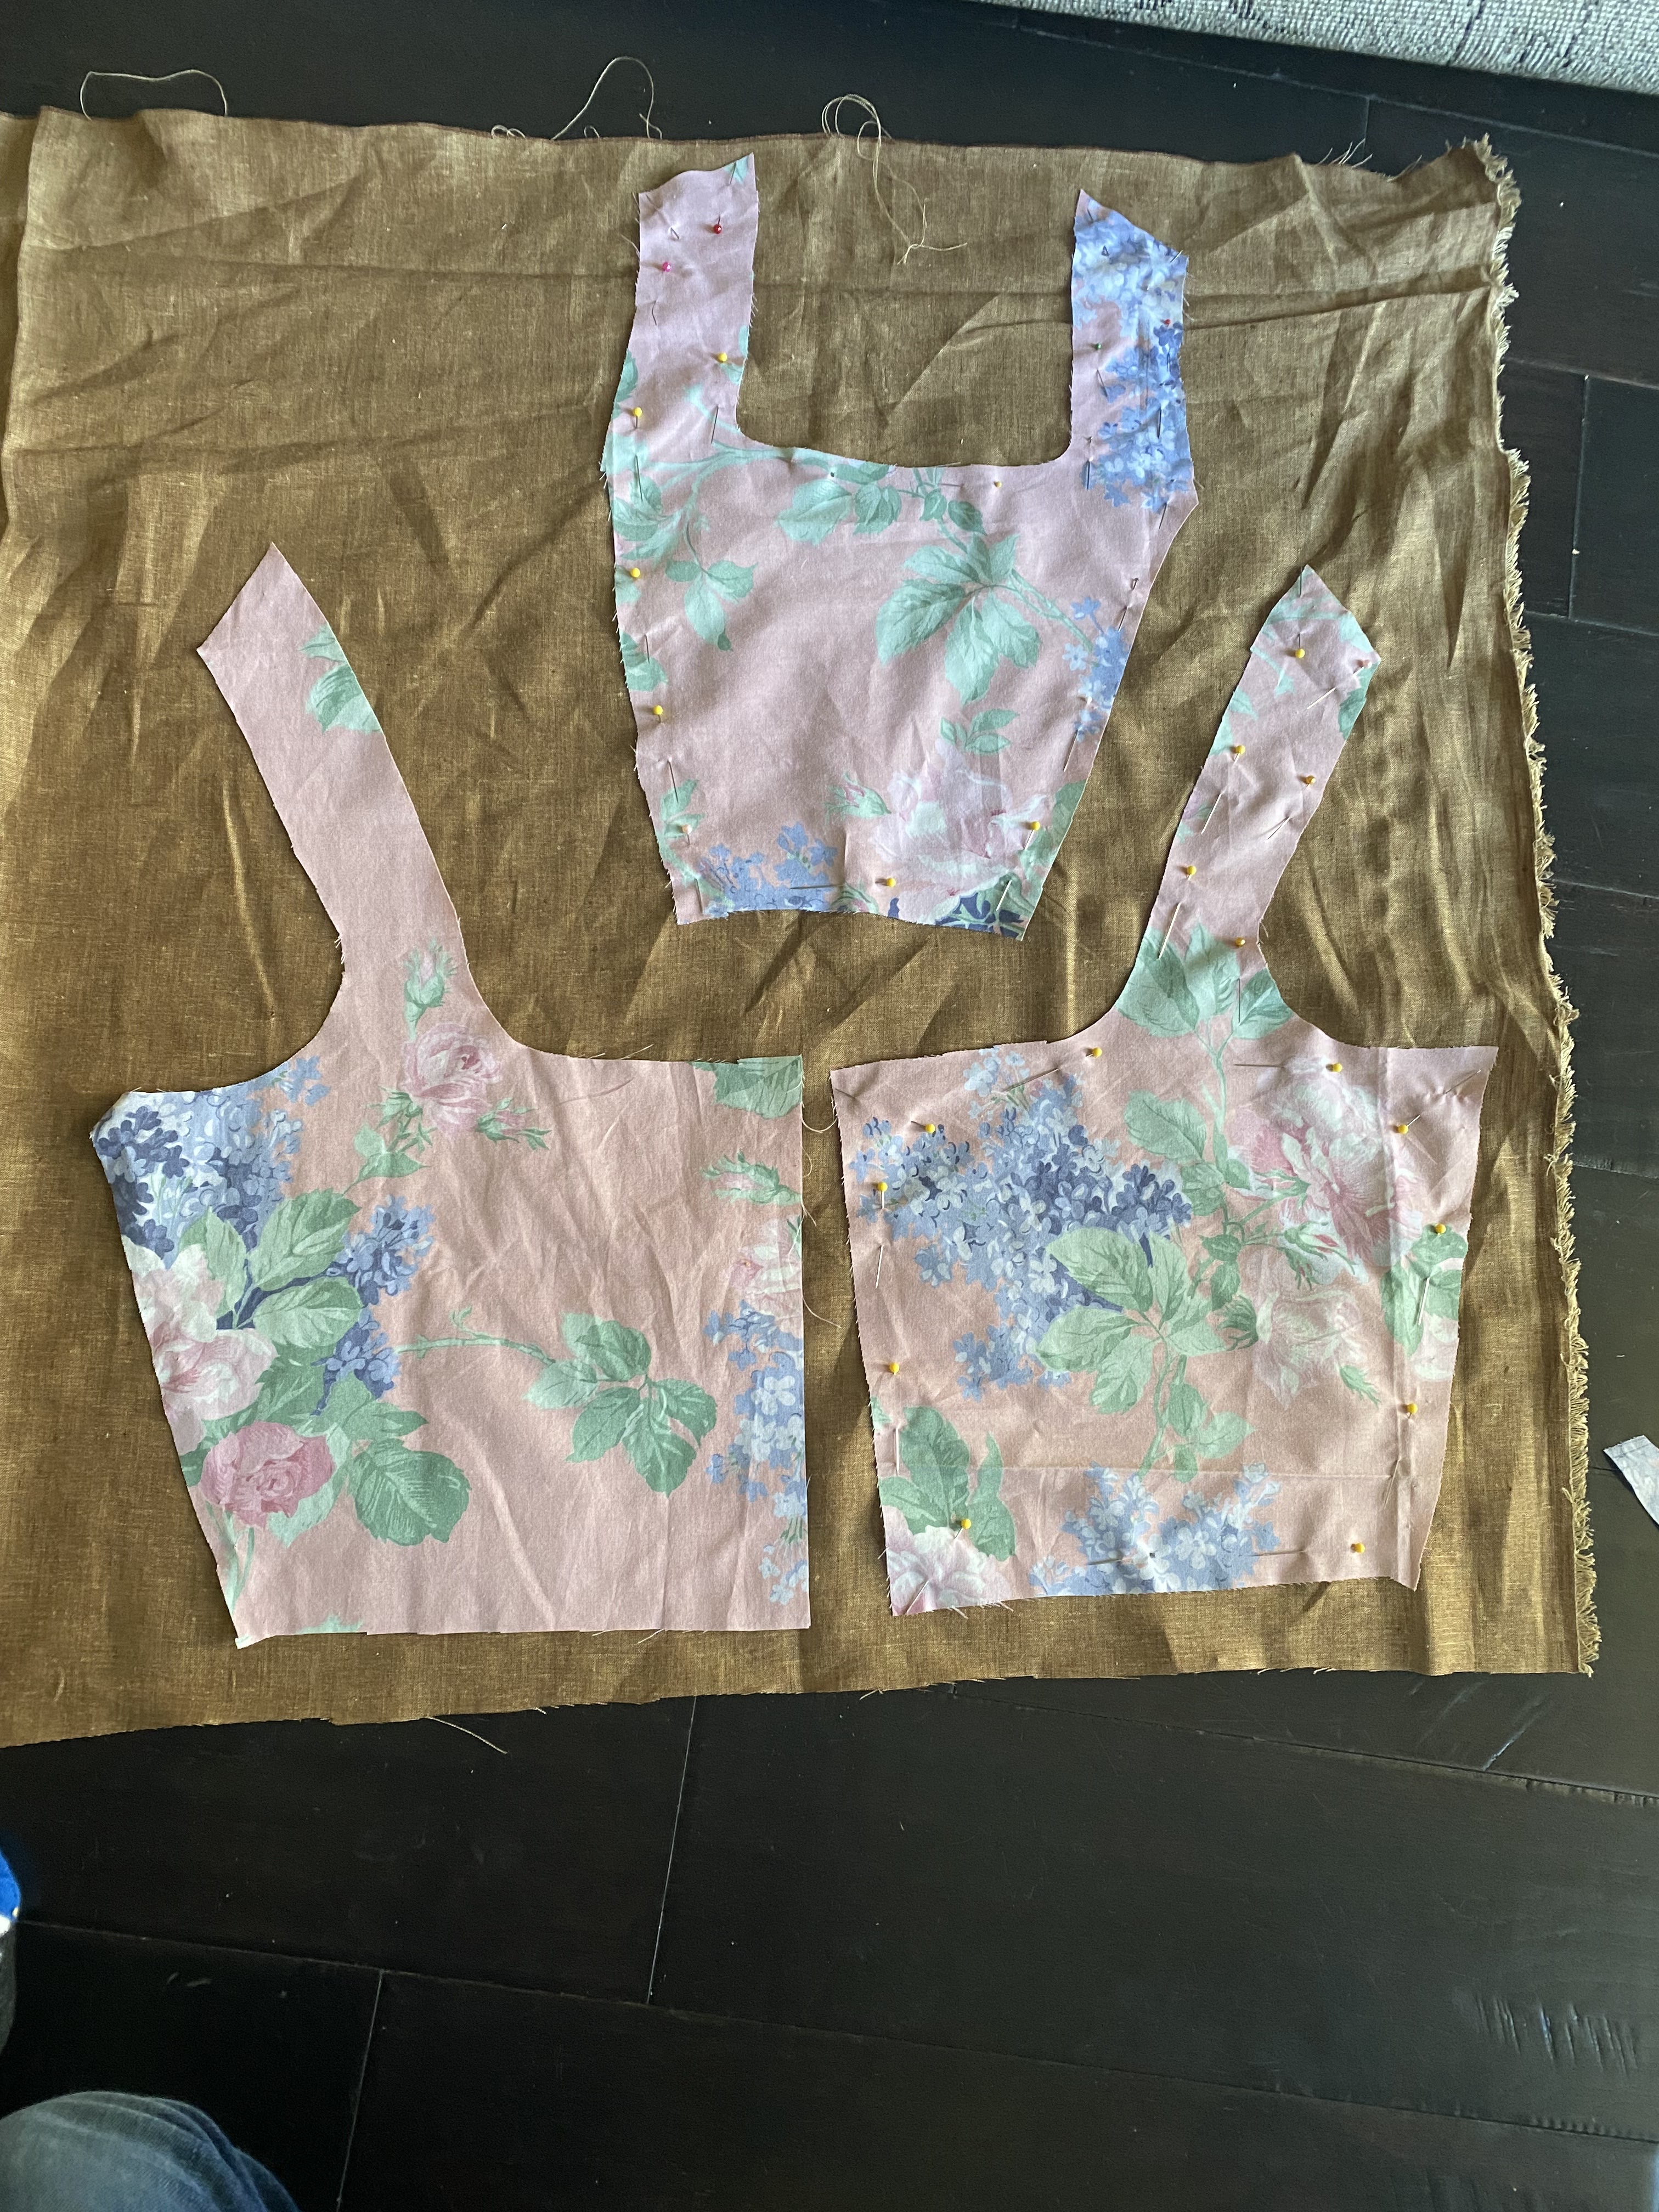 |
| The first two pieces are the front, and the top one is the back piece. |
I then cut the same pieces from white lining fabric and sewed the bodice together.

I folded the brown over the white to hem the lining into the bodice. I left the bottom open.
After the bodice was all sewed up, I formed the skirt from a rectangle of the brown linen and attached it to the bodice. This was the tricky part though. You want the seam on the skirt to be at the center back. This means that the slit on the front where it all laces up will have to be cut.
 |
| So not like this |
 |
| I fixed it later, but imagine that there’s no center front seam below that slit. |
I then made the chemise. It is built exactly like my shift, but without the extra gore at the side and with the long sleeves and neck band of course. Here’s a link for those instructions. I also added blackwork.
When I tried it on mid-construction it looked very similar to the Pride and Prejudice dress 😆


Next I added a ruffle to the chemise, eyelets on the kirtle, boning,
and the ever-strenuous green trim.
I made the trim by cutting a very long strip of green cotton and ironing the sides under. I then hand sewed it on with a whipstitch around the edges. I also left a small gap on the front to allow room for the eyelets…

Next is the boning (this step should actually go before the trim). I made my own boning by cutting half inch strips of corrugated plastic from yard signs. I’m actually quite pleased with the result. I started by marking where I wanted the boning with a pen on the white lining inside.
 |
| I put boning on the back, under the arms, diagonally on the front, and of course right by the lacing to keep everything nice and tight. |
To attach the boning, I made little white cotton tubes to put the boning into and hand sewed them into the lining (not through to the front… it took some finagling but was well worth it!)
And that’s it! I hope this was somewhat understandable and helpful! This is one of the few projects that I’ve actually been happy with the result 😊 if you want more pictures, check out my post on the Renaissance Faire here.


Comments
Post a Comment
How does this relate to you? What did you think?